
TL;DR

Get backup power and energy gear delivered free with Prime
- Fast, free delivery on millions of items
- Prime Video, Amazon Music and more included
- Member-only deals all year
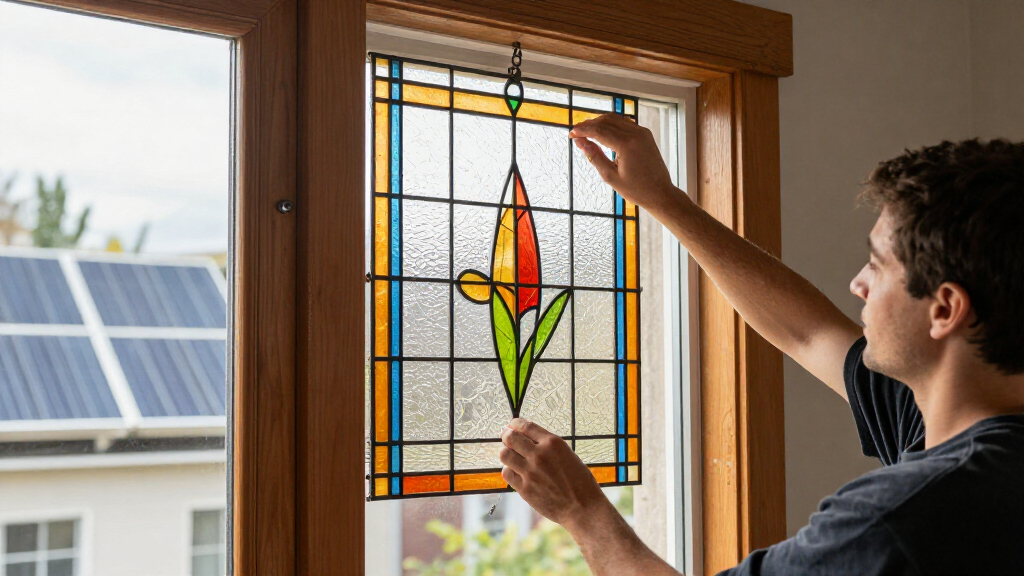
A Hunker report describes a DIY project from YouTube channel Your Home, Renewed that uses automotive striping tape on both sides of a window to imitate the lines of leaded glass. The creators said their project cost about $40, compared with several hundred dollars for decorative window film; the tape can be removed, but the result is a visual effect rather than replacement glass.
A DIY window treatment featured by Hunker uses inexpensive automotive striping tape to imitate the lines of vintage leaded glass, offering homeowners and renters a curtain-free decorative option without the cost of replacement windows. The creators behind YouTube channel Your Home, Renewed said their version cost about $40, compared with a few hundred dollars for decorative window film.
The project began as a temporary way to disguise a problem with the creators’ bay window: gas between its panes was failing. They wanted to cover the appearance until they could afford a replacement, but said decorative film designed for windows would cost a few hundred dollars. They instead used automotive striping tape, reporting a project cost of about $40.
To plan the design, the creators first used masking tape to map out a grid and check the spacing. Hunker also describes using a large ruler and dry-erase marker to sketch possible lines on the glass before applying the tape. Tape is available in different widths, including options starting at a quarter-inch, and metallic finishes can create a different appearance.
The report advises applying strips to both sides of the glass to suggest the construction of leaded windows, where glass panels sit between lead strips, or cames. At intersections, the tape should be cut so the ends meet flush rather than overlap. The report also cautions against stretching the tape during application, saying tension can cause it to peel later. For removal, it recommends lifting a corner with a plastic scraper and peeling the strip at an angle.
A Lower-Cost Decorative Alternative
The approach gives people who like the look of leaded glass a comparatively low-cost way to add visual detail without buying antique panels or installing a new window. Its reported price also makes it a possible temporary option for people delaying a larger repair, as was the case for the project’s creators.
For renters, removability may make the design more practical than a permanent alteration, though the source does not establish that every tape or window surface will respond the same way. The tape changes the window’s appearance; it does not repair failed glazing, replace a damaged unit, or provide the same material or craftsmanship as authentic leaded glass.
Products Worth Considering

TCL T7 Series 85-Inch 4K 144Hz QLED Smart Google TV

LEVOIT Vital 200S-P Smart Air Purifier for Large Rooms

Sony BRAVIA 5 85-Inch Mini LED 4K HDR Smart TV (K-85XR50)
As an affiliate, we earn on qualifying purchases.
A Temporary Fix for a Bay Window
The project was prompted by a visual issue with the creators’ bay window, where gas between panes was failing. The report says they were looking for a way to camouflage the window while saving for a replacement. Their initial alternative, decorative window film, was estimated by the creators to cost a few hundred dollars.
Hunker presents the tape method as a DIY design idea, not as a window repair. The material is automotive striping tape, repurposed to create lines that resemble the lead cames in vintage glazing. The supplied report gives the project’s cost and the creators’ application tips, but does not include independent pricing comparisons or performance testing.
“The project cost them about $40.”
— Your Home, Renewed, as described by Hunker
Costs and Durability May Vary
The roughly $40 cost is the creators’ reported expense, not a verified price for every window. The source does not specify the window’s dimensions, the amount or brand of tape used for the full project, or whether the cost includes tools already on hand. It also gives no comparison based on a particular film product or supplier.
The report does not say how long the tape remained in place, how it performs in different temperatures or levels of sunlight, or whether removal could affect every type of glass or finish. The design is described as removable, but that does not guarantee residue-free removal in all circumstances. It is also unclear whether the window’s glazing was later replaced; the tape was used to disguise the issue, not fix it.
Test the Pattern Before Applying
Anyone trying the design can begin by mapping the grid with masking tape or marking guide lines with a dry-erase marker, then check the spacing before committing. The report recommends choosing the tape width and finish in advance, applying the strips without stretching them, and cutting intersections neatly so the lines meet rather than overlap.
Because the source gives no durability test or universal removal guarantee, a small trial on an inconspicuous area may help identify how a particular tape behaves on the glass. For the creators, the stated longer-term plan was to replace the bay window when their budget allowed; no replacement update is included in the report.
Key Questions
What does the DIY use to imitate leaded glass?
It uses automotive striping tape applied in a pattern to suggest the lines of lead cames around glass panels.
How much did the creators say their project cost?
Your Home, Renewed reported spending about $40. The source does not give enough detail to treat that as a guaranteed cost for other windows.
Does the tape fix failed window glazing?
No. The creators used it to camouflage a problem while saving for a replacement. The report does not describe the tape as a repair.
Can the tape be removed?
The report says to lift a corner with a plastic scraper and peel the strip at an angle. It does not establish that removal will be residue-free on every surface.
How can the design be planned before applying the tape?
Use masking tape to test the grid spacing, or draw guide lines with a dry-erase marker and ruler. The source recommends checking the layout before applying the striping tape.
Source: hunker.com