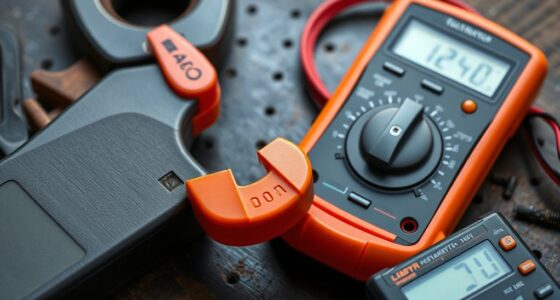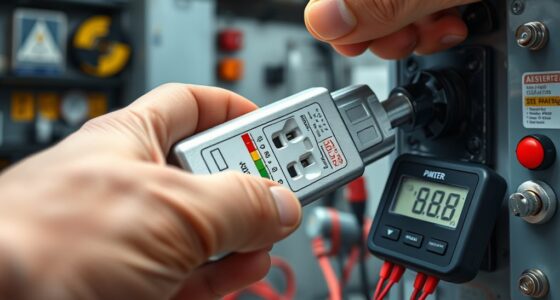
To measure voltage drop under load, first use a reliable multimeter set to voltage mode. Connect the probes across the load terminals and note the voltage while the system is running. Then, measure the voltage at the power source or breaker panel for comparison. Subtract the load voltage from the source voltage to find the drop. Typically, a drop less than 3% is acceptable; if you want more detailed, real-world examples, there’s more to explore.
Key Takeaways
- Use a multimeter set to voltage mode, measuring across the load terminals while the circuit is under normal operation.
- Record the voltage at the load and compare it to the source voltage to determine the actual voltage drop.
- Aim for a voltage drop less than 3%, with sensitive electronics requiring below 2%.
- Example: If source is 120V and load measures 116V, the voltage drop is approximately 3.33%.
- Real numbers help identify excessive resistance, indicating potential wiring issues or the need for gauge upgrades.
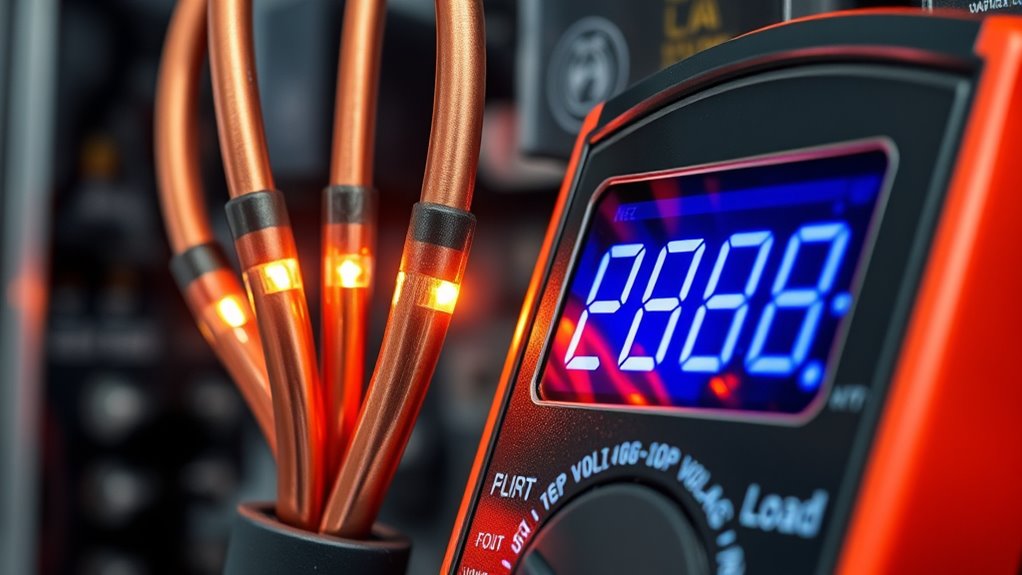
Measuring voltage drop under load is essential for ensuring your electrical system functions safely and efficiently. When you’re working with copper wiring, understanding how circuit resistance affects voltage levels is vital. Copper wiring is popular because of its excellent conductivity, but even the best wiring can experience voltage drops if the circuit’s resistance isn’t properly managed. By measuring voltage drop under load, you can identify whether your wiring and connections are performing ideally or if they need adjustments to prevent issues like overheating, flickering lights, or equipment failure.
Measuring voltage drop under load ensures safe, efficient electrical system performance and helps prevent wiring issues.
As current flows through your copper wiring, circuit resistance causes a small voltage to drop across the wire. This isn’t inherently problematic—some voltage drop is expected—but excessive drops indicate that your wiring may be undersized or degraded. When resistance increases, either due to long wire runs, corrosion, loose connections, or inadequate wire gauge, the voltage reaching your devices drops below safe or suitable levels. To avoid this, you need to measure the voltage at different points in your circuit while it’s under load, meaning when electrical devices are operating. Doing so helps you determine if the resistance is within acceptable limits or if it’s impairing your system’s performance.
You’ll want to use a reliable multimeter set to measure voltage and take readings at the source and at the load. Connect the meter’s probes across the terminals of your load, ensuring a good contact. Power on your system and note the voltage reading. Then, measure the voltage at the origin point, such as your breaker panel, and compare it to the load measurement. The difference between these readings is your voltage drop. Industry standards typically suggest that a voltage drop of less than 3% is acceptable for most circuits, but for sensitive electronics or long runs, keeping it below 2% is advisable. If your measurement exceeds these thresholds, it indicates high circuit resistance, which could be due to undersized copper wiring or poor connections.
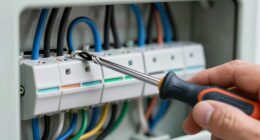
Regularly measuring voltage drop under load allows you to proactively address issues before they escalate. If you find significant voltage drops, consider upgrading your wiring to a thicker gauge of copper, tightening loose connections, or shortening long wire runs. These steps will reduce circuit resistance and improve overall performance. Additionally, choosing the right wire gauge is crucial for minimizing voltage drop in longer circuits. Keep in mind that consistent monitoring can help catch problems early, saving you money and preventing potential hazards. Ultimately, understanding how copper wiring and circuit resistance influence voltage levels empowers you to maintain a safe, efficient electrical system that performs reliably over time.
Top picks for "measure voltage drop"
Open Amazon search results for this keyword.
As an affiliate, we earn on qualifying purchases.
Frequently Asked Questions
How Often Should Voltage Drop Tests Be Performed?
You should perform voltage drop tests during circuit resistance and load testing at least once a year or whenever you notice electrical issues. Regular testing guarantees your wiring can handle load demands and identifies potential problems early. If you make modifications or additions to your electrical system, conduct load testing again. Consistent testing helps maintain safe, efficient operation and prevents unexpected failures or hazards in your electrical circuits.
What Tools Are Best for Measuring Voltage Drop Accurately?
Think of your test equipment as a trusty compass guiding you through a maze. To measure voltage drop accurately, use a high-quality multimeter or clamp meter designed for low-resistance measurements. These tools help you detect circuit resistance and pinpoint issues. Always guarantee your test equipment is calibrated and suitable for load testing. With the right gear, you’ll navigate voltage issues smoothly like a seasoned explorer, ensuring your circuits stay healthy.
Can Voltage Drop Affect Overall Electrical System Safety?
Yes, voltage drop can impact electrical system safety by causing overheating, equipment malfunction, or failure. Poor circuit design and uneven load balancing increase the risk, making it essential to monitor voltage levels under load. By maintaining proper load distribution and designing circuits with voltage drop in mind, you guarantee safer operation, reduce hazards, and extend the lifespan of your electrical components. Regular measurements help spot issues early.
How Do Temperature Changes Influence Voltage Drop Readings?
Temperature fluctuations can markedly impact voltage drop readings, as resistance variation increases with higher temperatures. For example, resistance in copper wiring rises about 0.4% per 100°C, which can cause voltage drop to increase by roughly 2%. When temperatures drop, resistance decreases, reducing voltage drop. You should monitor temperature changes, as they directly influence resistance variation, affecting voltage measurements and overall system performance.
What Are Common Causes of Excessive Voltage Drop?
You experience excessive voltage drop mainly due to cable degradation and connection corrosion. Over time, cables can wear out, increasing resistance and reducing voltage flow. Corrosion at connections also hampers the electrical path, causing higher voltage drops. To prevent this, regularly inspect and maintain your cables and connections, replacing degraded wires and cleaning corroded terminals. Proper installation and using quality components help minimize voltage loss and guarantee efficient system performance.
Conclusion
By paying close attention to voltage drops under load, you gently uncover the subtle signs of your electrical system’s health. Just like noticing a faint whisper of change in a familiar tune, these measurements hint at areas that might need your care. With a keen eye and a steady hand, you can keep your system humming smoothly, ensuring everything runs just as it should—quietly, reliably, and without fuss.