To expand your lighting control with 4-way switches without confusion, you need to understand how they connect with 3-way switches. These switches work together to let you control lights from multiple locations seamlessly. Proper wiring with the correct traveler connections is essential for reliable operation. By following proper setup and safety practices, you can create a flexible lighting system. Keep exploring to learn detailed wiring configurations and tips for smooth installation.
Key Takeaways
- Add additional 4-way switches in series between two 3-way switches to expand multi-location control.
- Correctly wire traveler terminals to ensure seamless operation across all switches.
- Follow wiring diagrams and safety protocols to prevent confusion and ensure reliable system functionality.
- Use consistent wire color coding (black/red for travelers, white for neutral) for easy troubleshooting.
- Test the system after installation to confirm all switches control lights correctly from multiple locations.

ELEGRP 4 Way Decorative Light Switch, 15Amp, 120-277 Volt, AC Decorator Rocker Paddle Wall Switch Replacement, Self-Grounding, Residential and Commercial Grade, UL Listed (5 Pack, Glossy White)
【4 Way Decorator Switch】 This decorator switch is a high-quality wall switch meant specifically for 4-way applications. When…
As an affiliate, we earn on qualifying purchases.
As an affiliate, we earn on qualifying purchases.
Understanding the Basics of 4-Way Switches
To understand 4-way switches, it’s important to know their role in controlling lights from multiple locations. They’re a key part of lighting design that allows you to turn lights on or off from several spots, like at both ends of a hallway. The switch placement is vital; 4-way switches are installed between two 3-way switches, creating a seamless control point network. Unlike simple single-pole switches, 4-way switches have four terminals, which enable the wiring to alternate the circuit’s flow. This setup ensures consistent operation, regardless of which switch you use. Additionally, understanding the wiring configuration of 4-way switches helps ensure safe and reliable installation. Proper installation practices are essential for the switches to function correctly and safely. Knowing how to test electrical connections can also prevent potential hazards and ensure proper operation. Being familiar with circuit testing methods can further improve safety and troubleshooting efficiency. For optimal performance, it’s also important to consider switch compatibility with your existing wiring setup. By understanding their basic function and placement, you can better plan your lighting layout for convenience and efficient control, especially in larger or multi-entry spaces.
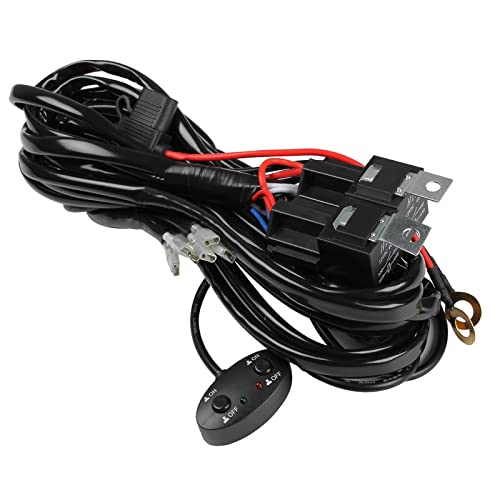
Zmoon Wiring Harness Kit 13FT for Multi-Mode of LED Light Bar, 12V 40A On-Off Switch Relay for Switching Different Lighting Modes – 2 Leads & 2 Relays
Fit for 2-color Light Bar: 2 switches are designed to switch between different modes and different colors of…
As an affiliate, we earn on qualifying purchases.
As an affiliate, we earn on qualifying purchases.
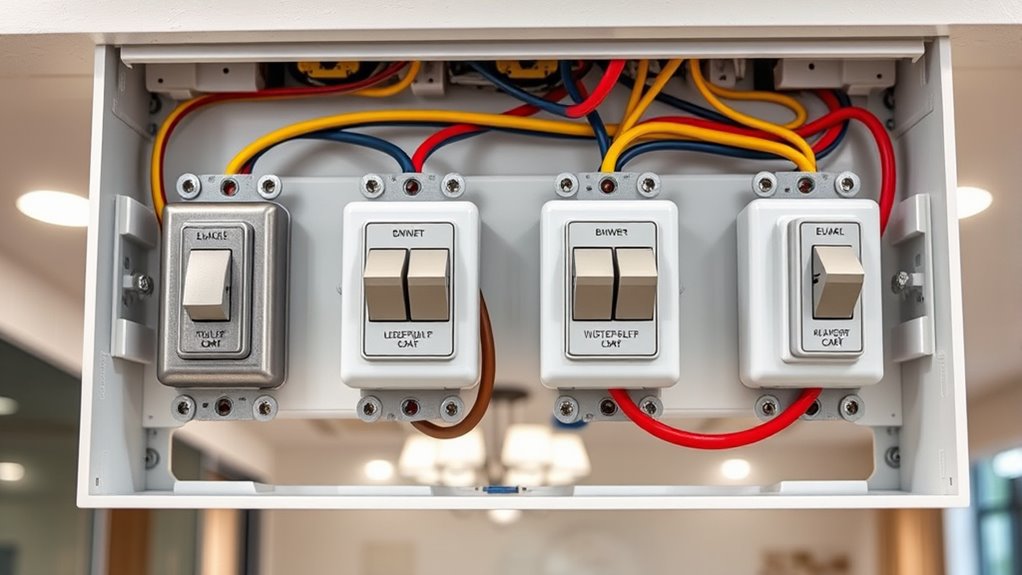
How 4-Way Switches Connect With 3-Wway and 2-Way Switches

Understanding how 4-way switches connect with 3-way and 2-way switches is essential for setting up multi-location lighting control systems. The wiring must follow the electrical code to guarantee safety and proper operation. Typically, a 3-way switch is used at each end of the circuit, with a 4-way switch placed between them. Wiring diagrams show that travelers from the 3-way switches connect to the 4-way switch’s traveler terminals, which then connect to the other 3-way switch. Proper connections allow you to control lights from multiple locations seamlessly. When wiring, ensure the traveler wires are correctly identified and connected, following electrical code guidelines. Using appropriate wiring techniques helps prevent faults and ensures reliable operation. Additionally, understanding the travelers and common terminals is crucial for correct installation. This setup provides flexible lighting control while maintaining safety and code compliance.

ELECTRICIAN'S BOOK -3-WAY&4-WAY LIGHTING SWITCH -WIRING DIAGRAM (SELF-STARTER UNIVERSITY)
As an affiliate, we earn on qualifying purchases.
As an affiliate, we earn on qualifying purchases.
Tools and Materials Needed for Installation

Before you start installing your 4-way switch, it’s important to gather the right tools and materials. You’ll need basic hand tools like screwdrivers and wire strippers, along with specific items such as the switches, electrical boxes, and wiring. Having everything prepared guarantees a smooth and efficient setup process. Additionally, understanding electrical wiring principles can help ensure safe and correct installation. Familiarity with safety precautions is essential to prevent accidents and ensure compliance with electrical codes. For best results, consulting manufacturer instructions can provide detailed guidance tailored to your specific switches. Being aware of projector-related electrical requirements can also help prevent issues related to power supply and wiring safety.
Tools Required for Installation
Installing a 4-way switch requires a few essential tools and materials to guarantee the job goes smoothly. You’ll need a screwdriver, wire strippers, needle-nose pliers, and a voltage tester to handle switch wiring safely and accurately. A circuit breaker tester helps verify power is off before you start working, preventing accidents. You might also need a drill if you need to create holes for mounting boxes or running wires. Make sure you have the correct gauge wire for your setup. Having these tools ready keeps the installation efficient and safe. Remember, working with electrical components can be dangerous, so always double-check that the circuit breaker is off before beginning any switch wiring tasks. Additionally, understanding electrical safety best practices is crucial to prevent hazards during installation. Properly maintaining your tools and following safety procedures can help avoid electrical hazards and ensure a successful installation. Being familiar with cookie consent management can also help ensure your tools and processes respect user privacy and compliance standards during the project. Incorporating knowledge of Kia Tuning concepts can also assist in understanding how electrical modifications may impact vehicle systems. Moreover, consulting professional electricians can provide valuable guidance to ensure code compliance and safety.
Materials Needed for Setup
To set up a 4-way switch, gather the necessary tools and materials to guarantee a smooth installation process. You’ll need switches compatible with your circuit and the correct wiring. Choose switch placement carefully to ensure easy access and efficient control. Make sure to have electrical tape, wire strippers, a voltage tester, and screwdrivers on hand. Use high-quality electrical wires suited for your circuit’s voltage and current ratings. Confirm circuit compatibility before purchasing switches to avoid mismatched components. Label wires during removal to simplify wiring in the new setup. Additionally, having a circuit breaker tester helps confirm power is off before working. Preparing these materials in advance streamlines the installation and ensures your switches work safely and effectively. Proper planning and understanding of electrical wiring can prevent common mistakes and improve safety. Familiarity with attune techniques in electrical work can further enhance your confidence and precision during installation.

NSi Industries TES-111 Twin Probe Voltage Tester, 80-250 VAC,Neon
Neon Light Indicates Presence Of Ac Voltage From 80-250 Vic
As an affiliate, we earn on qualifying purchases.
As an affiliate, we earn on qualifying purchases.
Step-by-Step Guide to Installing a 4-Way Switch System

Before you start, make sure you gather all the necessary tools and materials to complete the installation smoothly. Next, focus on connecting the wires properly to make certain the system works safely and correctly. Taking these steps carefully will help you avoid mistakes and complete the job efficiently. Remember, understanding the special occasions context can help you appreciate the importance of safety and precision in electrical work. Properly identifying bad lemon juice signs can also serve as a reminder to double-check all connections for safety.
Gather Necessary Tools
Gathering the right tools is a vital first step in installing a 4-way switch system. To ensure your project goes smoothly, you’ll need basic tools like a screwdriver, wire strippers, voltage tester, and a drill. Having these on hand helps you handle wiring safely and efficiently. Consider the lighting aesthetics and switch design when selecting switches; matching styles creates a cohesive look. Make sure you have enough wire and connectors to reach your switches comfortably. Proper tools make it easier to remove existing switches and install new ones securely. Preparing your toolkit beforehand prevents delays and reduces frustration. Familiarity with Bedroom design principles can help you plan the switch placement effectively within your space. Understanding AI-powered smart home technology can also assist in modernizing your lighting setup for added convenience. Additionally, knowing how to identify electrical wiring ensures safety during installation. With the right tools, you’ll be ready to tackle the wiring process confidently, ensuring your new switch setup functions correctly and enhances your space’s lighting aesthetics.
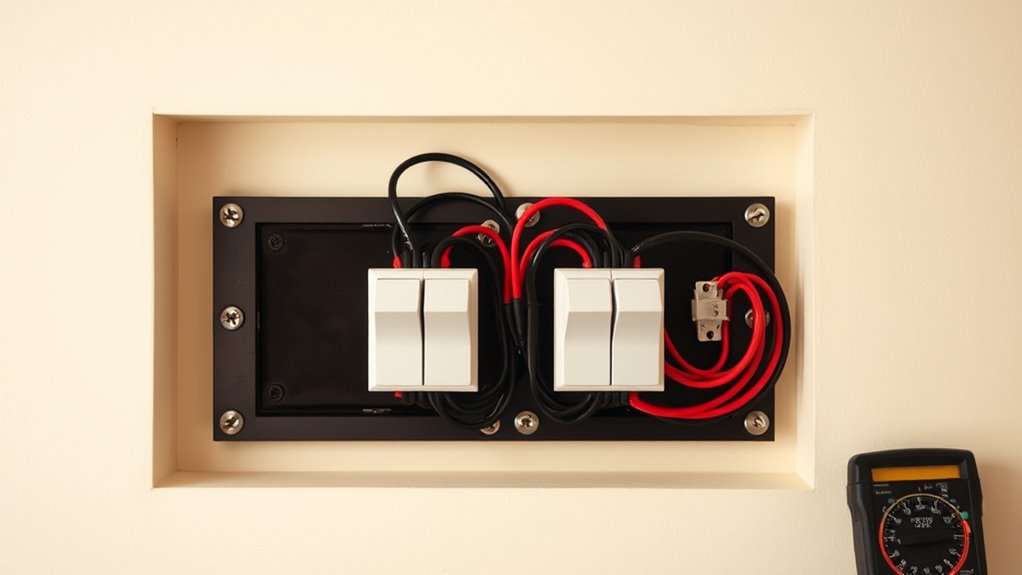
Connect Wires Properly
Connecting wires properly is essential for a safe and functional 4-way switch system. First, identify the wire color codes: black or red are travelers, while white is the neutral. Always turn off the power before working on the wiring. Carefully follow the switch placement plan, ensuring travelers connect to the correct terminals on each switch. On the 4-way switch, connect the traveler wires between the two 3-way switches, and attach the common terminal to the hot wire. Secure all connections tightly using wire nuts and ensure no exposed wire is left. Proper wiring prevents short circuits and guarantees reliable operation. Double-check that each wire is connected to the correct terminal, based on your switch placement, before restoring power. Proper connection is key to a safe, efficient lighting control system. Additionally, understanding the electrical wiring principles can help ensure a correct and safe installation. Being familiar with risk management strategies can also help prevent accidents during electrical work. Paying attention to grounding procedures is vital to protect against electrical faults and ensure overall safety.
Common Wiring Configurations and Troubleshooting Tips
Understanding common wiring configurations for 4-way switches is essential to guarantee safe and proper operation. Typically, wire color coding helps identify the traveler wires connecting the switches, often using black or red for travelers and white for neutral, but always verify with your specific setup. Switch placement is also important; 4-way switches are installed between two 3-way switches, so ensure they’re correctly positioned to control the same load. Troubleshooting begins by checking for loose or disconnected wires, especially at traveler terminals. If the switches don’t work as intended, verify the traveler connections and ensure the travelers are on the correct terminals. Using a voltage tester can help pinpoint wiring issues quickly. Correct wiring and understanding switch placement are key to avoiding problems and guaranteeing your lighting control system functions smoothly.
Expanding Your Lighting Control: Adding Multiple 4-Way Switches

To expand your lighting control with multiple 4-way switches, you’ll need to add more switches into the existing circuit. Imagine threading a series of switches along your hallway or large room, each seamlessly connecting to the next. Here’s what you’ll see happen:
- You install additional 4-way switches at strategic points, allowing control from multiple locations.
- The switch design remains consistent, making wiring straightforward and intuitive.
- Dimming options can be incorporated, giving you control over brightness levels at each switch.
- The circuit becomes a flexible network, where multiple switches coordinate without confusion, providing convenient, reliable lighting management.
With this setup, you create a sophisticated lighting system that’s both functional and easy to operate, all while maintaining the sleek switch design you prefer.
Safety Precautions and Best Practices During Installation

Before beginning your installation of 4-way switches, it’s essential to prioritize safety by turning off the power at the circuit breaker. Electrical safety is key to avoid shocks or damage. Always test the circuit with a voltage tester before touching any wires. Follow wiring precautions by using insulated tools and wearing rubber-soled shoes. Keep your workspace dry and organized to prevent accidents. Use the correct wiring diagram to guarantee proper connections. Here’s a quick safety reminder:
| Safety Step | Why It Matters |
|---|---|
| Turn off power at breaker | Prevents electrical shock |
| Use insulated tools | Protects against accidental shocks |
| Verify power is off | Ensures safety before wiring |
| Keep workspace dry | Reduces risk of short circuits |
| Follow wiring diagrams | Ensures correct installation |
Enhancing Your Home’s Lighting System With Smart Switches

Upgrading your home’s lighting system with smart switches offers a convenient way to control your lights remotely and customize your environment. Imagine walking into a room where the lights automatically turn on as you arrive or dimming them for movie night. With smart switches, you can set up lighting automation to suit your routines. Picture a scene where:
- You tap your phone to turn on porch lights before stepping outside.
- Voice commands adjust living room brightness effortlessly.
- Scheduled timers dim bedroom lights at bedtime.
- Compatibility with various switch types ensures easy integration into your existing setup.
Choosing smart switches with broad switch compatibility guarantees seamless operation across your home. This upgrade enhances convenience, energy efficiency, and ambiance control—making your lighting smarter and more adaptable.
Frequently Asked Questions
Can 4-Way Switches Be Used for Outdoor Lighting?
Yes, you can use 4-way switches for outdoor lighting. Just make sure to incorporate outdoor wiring and weatherproof switches to handle the elements. These switches allow you to control your outdoor lights from multiple locations without confusion. Confirm all wiring is properly insulated and protected from moisture, and choose switches rated for outdoor use. This setup gives you flexible control and keeps your outdoor lighting reliable and safe.
What Is the Maximum Length of Wiring for 4-Way Switches?
Imagine wiring a three-story home; the maximum length of wiring between 4-way switches depends on wiring complexity and breaker capacity. Typically, it’s about 1000 feet for standard copper wiring at 12-gauge. Beyond this, voltage drops and wiring complexity increase, risking safety and performance. To guarantee safety, always check your breaker’s capacity and follow local electrical codes, and consider consulting an electrician for extensive wiring runs.
Are 4-Way Switches Compatible With LED or Smart Bulbs?
Yes, 4-way switches are compatible with LED or smart bulbs, but you need to take into account bulb compatibility and switch wiring. Some LED bulbs may flicker or not work properly with certain switch wiring setups, so choose bulbs labeled as compatible with dimmers or smart switches. For smart bulbs, ensure your switch wiring supports the smart system, and you may need a compatible hub or app for control.
How Do I Replace a Faulty 4-Way Switch Safely?
To replace a faulty 4-way switch safely, first turn off the power at the circuit breaker. Use a voltage tester to confirm no current flows through the switch wiring. Carefully remove the switch, noting how the wires are connected. Troubleshooting techniques include checking for loose or damaged wires and replacing the switch if needed. Always follow proper wiring procedures and double-check connections before restoring power to avoid hazards.
Can 4-Way Switches Be Controlled Remotely or via Apps?
In a flash, you might think 4-way switches are stuck in the 1950s, but modern tech offers options. While traditional 4-way switches don’t support remote control or app integration directly, you can upgrade to smart switches or add smart hubs. These allow you to control lighting remotely via an app, giving you convenience and flexibility. So yes, with the right setup, you can manage your lighting from anywhere.
Conclusion
Now that you know how to install and expand your 4-way switch system, you can confidently control multiple lights with ease. With the right tools and a little patience, you’ll turn your home into a masterful symphony of lighting—more intricate than a spider’s web and more reliable than the sunrise. Embrace these switches to transform your space into a seamlessly lit sanctuary where convenience reigns supreme and confusion is a thing of the past.