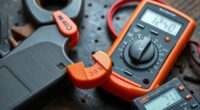
To master your multimeter, start by measuring voltage to check power levels safely. Test resistance to diagnose faulty components, and verify continuity to guarantee connections are intact. Use the meter in series to measure current—be sure to break the circuit first. Always follow safety steps, like turning off devices and selecting the correct settings. Keep practicing these five basics, and you’ll build confidence in troubleshooting and working with electronics effectively.
Key Takeaways
- Measure voltage to verify power levels, battery charge, and circuit safety by selecting the correct voltage range.
- Test resistance to identify faulty components and ensure circuit integrity, using resistor color codes for accurate readings.
- Check continuity to confirm complete connections, ensuring circuit reliability with a simple beep or low resistance reading.
- Measure current by placing the multimeter in series, monitoring electrical flow for troubleshooting and safety.
- Follow safety guidelines, calibrate regularly, and select appropriate measurement modes to ensure effective and safe multimeter use.
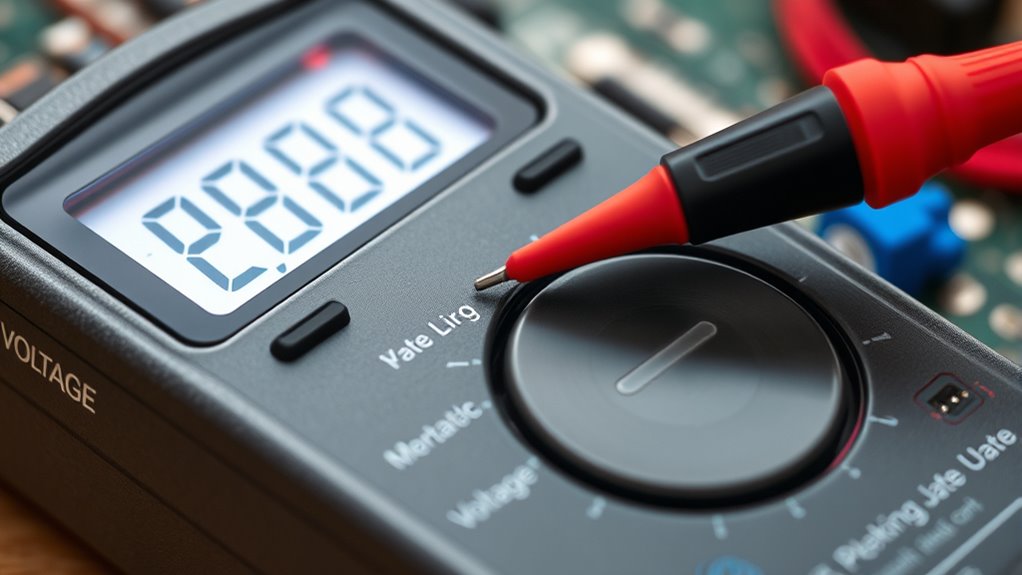
Measuring Voltage: Ensuring Power and Safety

Measuring voltage with a multimeter is essential for verifying power levels and maintaining safety. When performing battery testing, checking voltage helps determine if the battery is charged or needs replacement. It’s also useful for capacitance measurement, where understanding the voltage across a capacitor assures it functions properly without risk. To measure voltage accurately, set your multimeter to the correct voltage range and connect the probes across the component or circuit. Always handle probes carefully to avoid short circuits or electric shocks. Proper voltage measurement confirms that your device receives the right power, preventing damage and ensuring safe operation. Additionally, understanding precious metals dealer reviews can help you select reliable sources for investment, ensuring your assets are safeguarded. Being familiar with arcade machines and their specifications can also aid in troubleshooting and maintenance. By mastering this measurement, you can troubleshoot power issues confidently and keep your projects running smoothly.
Testing Resistance: Diagnosing Components and Circuits
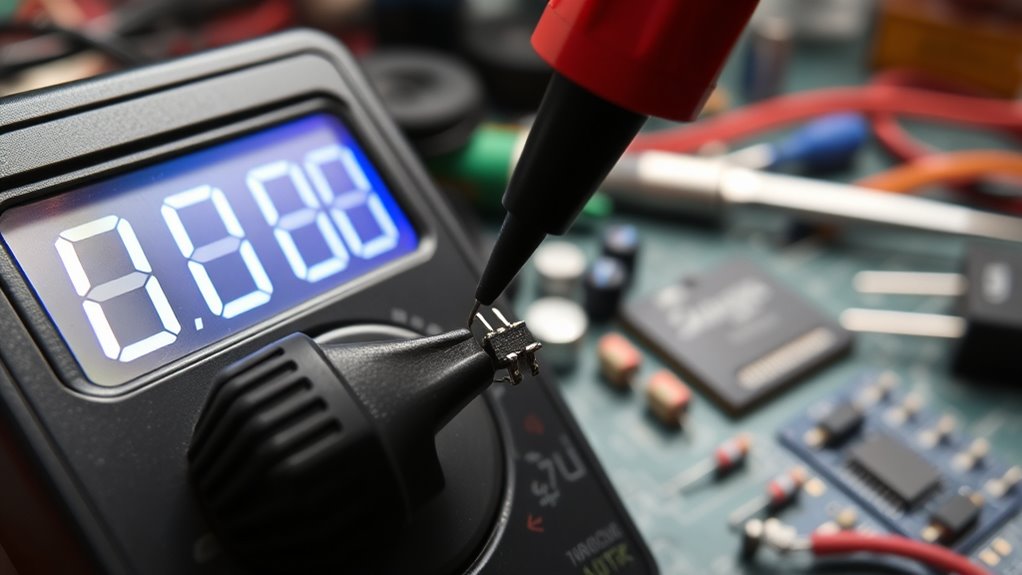
Testing resistance with a multimeter allows you to quickly identify faulty components and diagnose circuit issues. To do this effectively, consider these steps:
- Identify resistance color coding on resistors, which uses colored bands to indicate resistance value.
- Check resistance tolerance, usually marked by a gold or silver band, showing how much the actual resistance can vary from the rated value.
- Set your multimeter to the resistance (Ω) mode and connect the probes across the component or circuit segment. Understanding resistor specifications is essential for accurate troubleshooting and ensuring the integrity of your circuit.
Checking Continuity: Verifying Connections and Paths

Checking continuity with a multimeter helps you quickly verify if electrical connections are complete and unbroken. When you test for continuity, your multimeter checks the circuit path for any breaks or gaps. If the connection is intact, the multimeter beeps or shows a low resistance reading, confirming connection integrity. This process is essential for troubleshooting wiring issues, ensuring that components are properly linked, and avoiding hidden faults. To test, set your multimeter to the continuity mode, place the probes on both ends of the wire or connection, and observe the readings. A continuous circuit will produce a positive sound or a low resistance value, indicating that current can flow freely. Use this technique routinely to ensure your circuits are solid and reliable. Additionally, understanding the contrast ratio in projectors can help you assess image quality and scene clarity. Recognizing soulmate angel numbers can also guide you in ensuring your emotional connections are strong and genuine. Regularly checking continuity is a fundamental step in maintaining electrical safety and preventing potential hazards in your DIY projects.
Measuring Current: Monitoring Electrical Flow
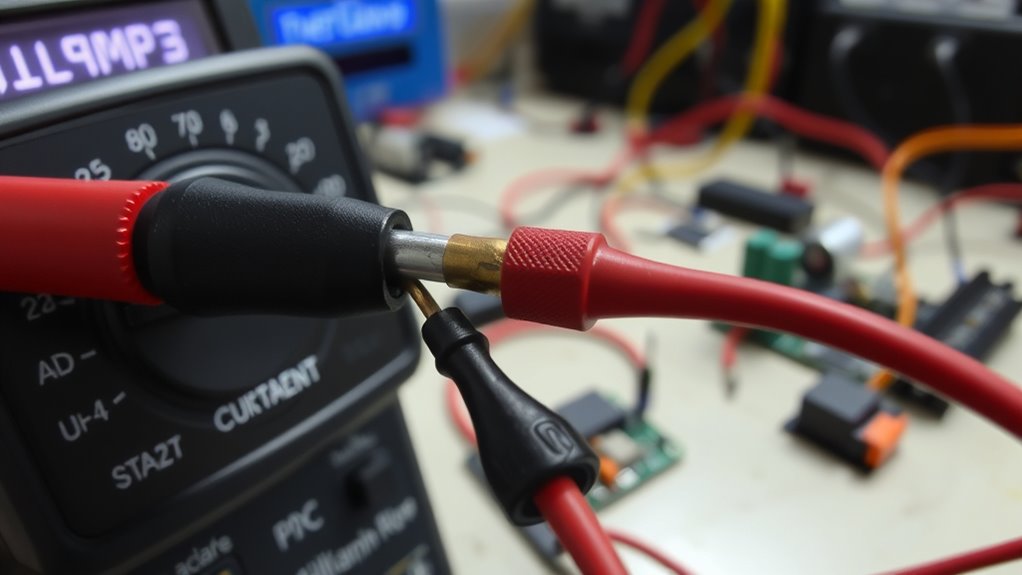
To accurately monitor electrical flow in a circuit, you need to measure the current passing through it. This is vital for circuit troubleshooting and battery testing, ensuring devices operate safely and efficiently. When measuring current, think of it as: exercising proper safety precautions, connecting your multimeter in series with the circuit, like threading a thin wire through a loop. Watching the needle or digital display jump as current flows, revealing if the circuit is working properly. Detecting unusual readings that might indicate a short or a dead battery, helping you pinpoint issues swiftly. Always remember, measuring current involves breaking the circuit temporarily, so you can get an accurate reading. Data privacy challenges underscore the importance of precise measurements and safety protocols in electronic diagnostics. Additionally, understanding the limitations of measurement tools helps prevent misinterpretations of your readings. Being aware of common measurement pitfalls can improve your troubleshooting accuracy and ensure reliable results. This step is essential for diagnosing problems and verifying power sources in your DIY projects.
Using the Multimeter Safely and Effectively

Using your multimeter safely and effectively guarantees accurate readings and prevents injuries or equipment damage. Always follow safety precautions, such as turning off power before connecting or disconnecting probes, and avoid touching metal parts during measurements. Proper multimeter calibration is essential; regularly check and calibrate your device to maintain accuracy. Set the multimeter to the correct measurement type and range before testing, and double-check connections to ensure they’re secure. When measuring high voltages or currents, use appropriate settings and probes rated for the task. Keep your workspace dry and free of clutter to prevent accidental slips. By adhering to these safety precautions and maintaining proper calibration, you’ll get reliable readings while protecting yourself and your equipment.
Frequently Asked Questions
How Do I Select the Correct Multimeter Setting for Each Measurement?
To select the correct multimeter setting, start by identifying what you’re measuring—voltage, current, or resistance. Always prioritize measurement safety by choosing the appropriate range, usually auto or manual, to guarantee setting accuracy. For example, set to voltage for electrical outlets and resistance for testing continuity. Double-check the setting before testing to prevent damage to the multimeter and ensure reliable results, keeping you safe and accurate in your measurements.
Can a Multimeter Measure Capacitance or Inductance?
Yes, your multimeter can measure capacitance and inductance, but only if it has the right functions. Imagine testing a capacitor in your circuit or checking an inductor’s inductance on the fly—you can do this with a multimeter designed for capacitance measurement and inductance measurement. Just switch to the appropriate setting, connect the probes correctly, and you’ll quickly get accurate readings, helping you troubleshoot efficiently.
What Are Common Multimeter Troubleshooting Tips for Inaccurate Readings?
If your multimeter gives inaccurate readings, start by checking for faulty leads—replace them if needed. Confirm you’re not near sources of environmental interference, like magnets or electronic devices, which can skew results. Also, verify the multimeter’s battery is fresh, and make sure you’re using the correct measurement mode. Regular calibration and proper contact with test points help maintain accuracy. These steps keep your readings reliable and precise.
How Often Should I Calibrate or Test My Multimeter for Accuracy?
You should calibrate or verify your multimeter’s accuracy at least once a year, especially if you use it frequently or for critical measurements. Regular calibration intervals ensure reliable readings, so perform accuracy verification before important projects. If you notice inconsistent results or suspect drift, test it immediately. Proper maintenance keeps your multimeter precise, saving you time and preventing costly mistakes during troubleshooting or repairs.
Are There Specific Multimeter Features Recommended for Beginners?
Did you know that over 60% of DIY enthusiasts find auto-ranging digital multimeters easiest to use? For beginners, look for a multimeter with a clear digital display and auto ranging feature. These simplify measurements by automatically adjusting to the correct range, saving you time and reducing errors. A user-friendly interface and sturdy build also help guarantee accurate readings and durability as you learn the basics of electrical work.
Conclusion
Mastering these five measurements transforms you from a mere observer to a confident electrician. With each test, you access the secrets within your circuits, turning chaos into clarity. Think of your multimeter as a key, and these skills as the door to safe, effective troubleshooting. Embrace these basics, and you’ll not only save time and money but also elevate your DIY game—because knowledge isn’t just power; it’s the very spark that ignites your craft.