To correctly interpret your receptacle tester’s lights, first make certain it’s properly inserted into the outlet with a secure connection. Consult the tester’s guide or diagram, which explains what each light pattern signals—such as proper wiring or issues like open ground or reversed polarity. Green usually means everything’s fine, while red or multiple lights indicate problems. If you want to master these signals and what they reveal, keep reading for detailed tips.
Key Takeaways
- Ensure the tester is properly inserted and making secure contact with the outlet terminals before reading the lights.
- Familiarize yourself with the specific light patterns and their corresponding wiring conditions using the device’s guide.
- Recognize that a proper wiring setup typically shows a green light, while red or no lights may indicate faults.
- Cross-verify the tester signals with a multimeter to confirm accurate readings and avoid misinterpretation.
- Always interpret multiple light signals together to diagnose wiring issues correctly and ensure safe electrical conditions.
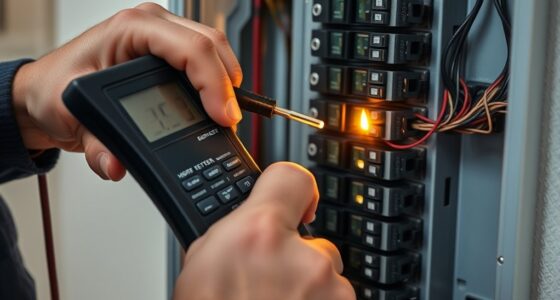
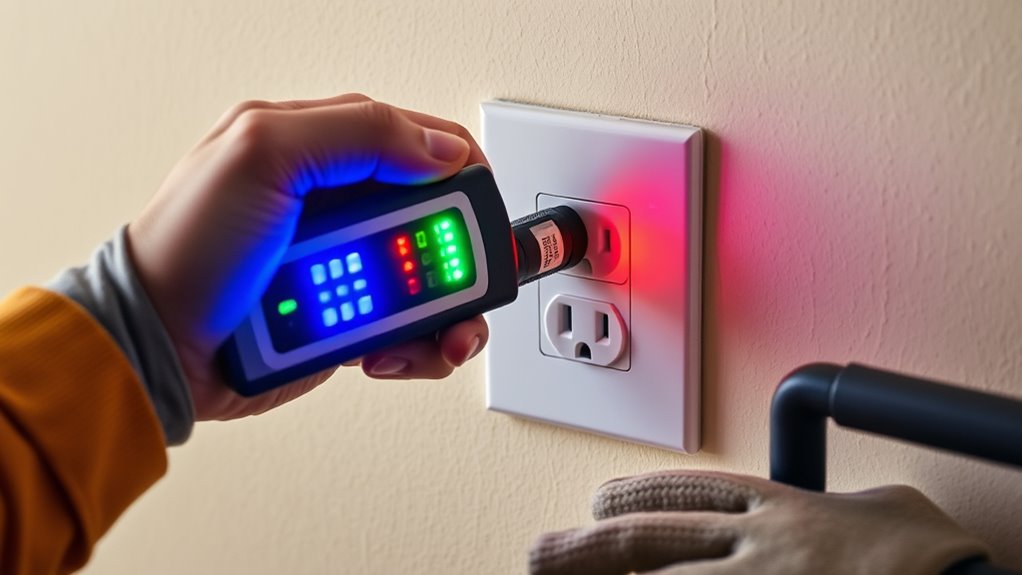
receptacle tester with indicator lights
As an affiliate, we earn on qualifying purchases.
As an affiliate, we earn on qualifying purchases.
Understanding the Basic Design of a Receptacle Tester
A receptacle tester is a simple yet essential tool for checking electrical outlets, and understanding its basic design helps you use it effectively. It typically features a set of indicator lights connected to internal circuits that interpret electrical signals from the outlet. These lights correspond to various circuit diagrams, showing whether wiring is correct or if there’s a fault. The tester measures voltage levels across the outlet’s terminals, providing quick visual feedback on the outlet’s condition. By recognizing how the indicator lights relate to specific wiring configurations, you can identify issues like open grounds or miswired outlets. Knowing this basic design allows you to interpret the lights accurately, ensuring safe and correct testing without needing to understand complex electrical schematics. Additionally, understanding automation in business can help you see how proper testing and maintenance fit into broader safety and efficiency strategies, especially as technological innovations continue to improve diagnostic tools. Recognizing the different cookie categories used during online interactions can also enhance your awareness of how data is collected and utilized in various contexts. Furthermore, awareness of appliance testing and compatibility ensures that your testing methods align with safety standards and appliance requirements. Being familiar with electrical safety protocols further enhances your ability to perform tests safely and effectively.
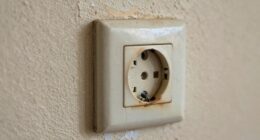
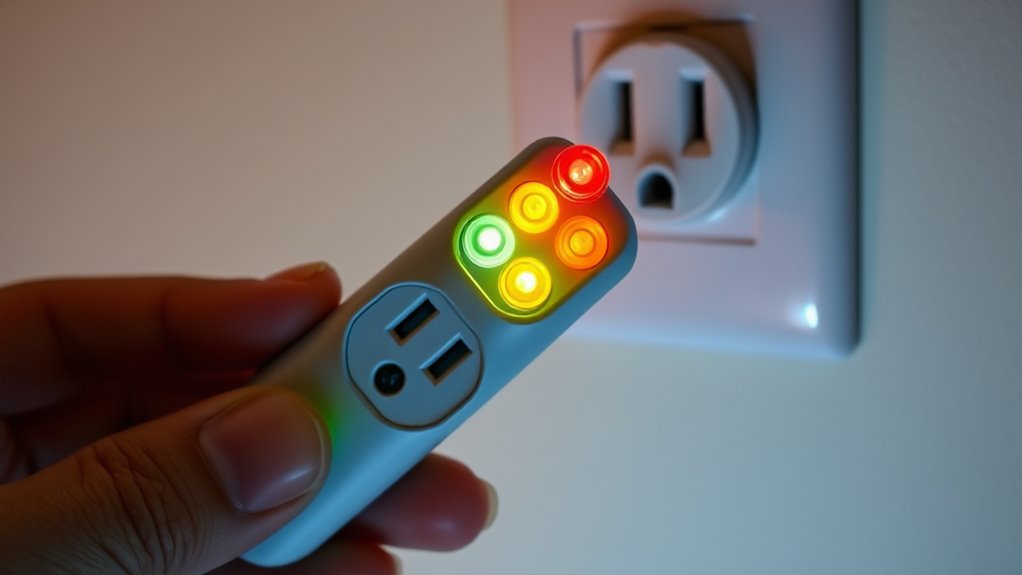
electrical outlet tester for wiring issues
As an affiliate, we earn on qualifying purchases.
As an affiliate, we earn on qualifying purchases.
Preparing to Use Your Tester Safely

Before using your tester, make sure to wear protective gear to stay safe. Turn off the power to the receptacle and double-check that it’s completely off. Additionally, inspecting the receptacle for any damage or debris can prevent accidents. Incorporating data-driven strategies can help verify that your testing procedures are accurate and reliable. Ensuring proper security measures can further protect your home during your testing process. Being aware of angel numbers can also provide spiritual reassurance during your safety preparations. Remember that understanding vetted products for effectiveness and safety can guide you in choosing reliable testing tools. Considering necessary cookies in your safety preparations can help streamline your process and ensure your testing environment remains secure.
Wear Protective Gear
To guarantee your safety while using receptacle testers, wearing the proper protective gear is essential. Start by putting on safety gloves to protect your hands from accidental shocks or contact with live wires. These gloves provide an extra layer of insulation and reduce the risk of injury. Additionally, always wear eye protection, such as safety goggles, to shield your eyes from sparks, debris, or unexpected arc flashes. Proper protective gear ensures you can handle the tester confidently and safely. Before inserting the tester into an outlet, double-check that your gloves are intact and fit well. Remember, safety gear isn’t optional—it’s your first line of defense against electrical hazards, helping you work with confidence and reducing the chance of injury. Electrical safety programs can also help you understand how to use electrical tools safely and effectively. Developing a strong *attention* to detail during these tasks can significantly minimize risks and improve your overall safety attention. Being aware of electrical hazards and understanding how to mitigate them is crucial for safe testing practices. Incorporating personal protective equipment into your routine not only complies with safety standards but also promotes a cautious approach when working with electrical systems.
Turn Off Power
Ensuring the power is turned off before using your receptacle tester is crucial for safety. Turning off the circuit eliminates the risk of electrical shock and helps you accurately identify the circuit you’re testing. Always switch off the breaker or unplug the device from the outlet. Confirm the power is off by using a voltage tester or multimeter before proceeding. Proper grounding safety is essential; verify that the circuit is grounded correctly to prevent potential hazards. Turning off power ensures that you won’t accidentally energize the circuit while testing. This step allows you to focus on circuit identification without worry. Additionally, proper maintenance practices can extend the lifespan of your electrical tools and ensure safe operation. Properly inspecting your tools for any signs of damage or wear can prevent accidents and ensure reliable testing results. Remember, never skip this step—safety should always be your top priority when working around electricity. Additionally, grounding safety protocols are vital to prevent electrical hazards during testing.
Inspect the Receptacle
Inspecting the receptacle carefully is an essential step before using your tester to guarantee safety and accuracy. Check that the ground wire is properly connected and secure, as a loose or damaged ground can lead to incorrect readings or hazards. Look for any signs of damage, corrosion, or burn marks around the receptacle, which could indicate underlying issues. Before measuring voltage, ensure the receptacle is wired correctly and that the slots align with the expected configuration. Confirm the power is off before inserting the tester to avoid electric shock. Once you’re ready, use your tester to verify the presence of voltage and ensure the ground wire is functioning properly. Proper inspection helps prevent accidents and ensures you get accurate readings. Additionally, understanding the ground wire and its role in electrical safety is crucial for accurate testing and hazard prevention. Conducting a visual inspection process can help identify potential hazards that might not be evident through testing alone. Ensuring proper vacuum cleaner performance metrics can also contribute to maintaining safety in your home environment.
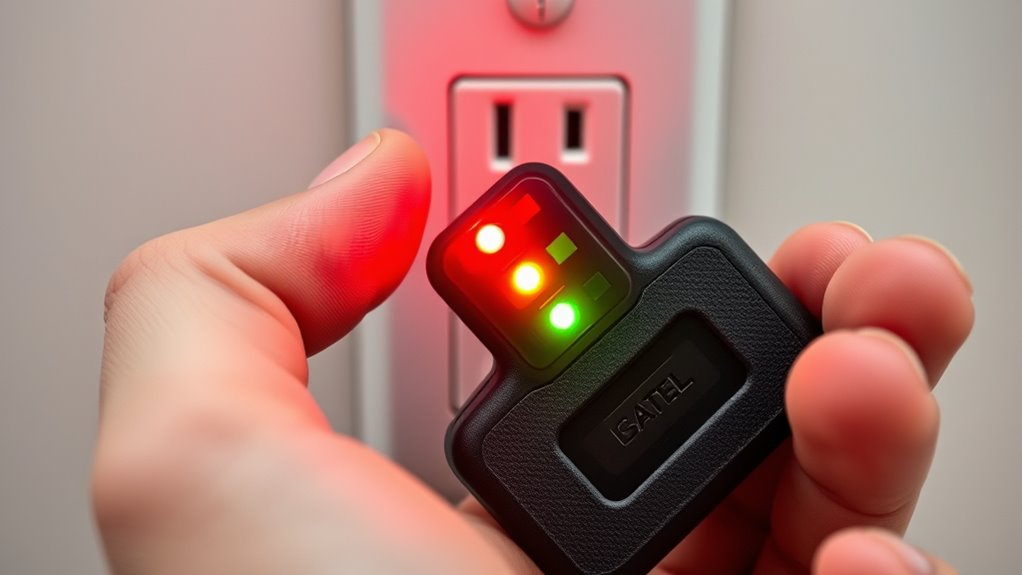
multimeter for electrical outlet testing
As an affiliate, we earn on qualifying purchases.
As an affiliate, we earn on qualifying purchases.
How to Insert the Tester Properly Into an Outlet

Before inserting a receptacle tester into an outlet, make sure your hands are dry and the power to the outlet is turned off if possible. Proper outlet placement is key to accurate testing, so verify you’re working with a standard receptacle or one that matches the tester’s design. Receptacle types vary, including ground-fault protected or GFCI outlets, which require careful handling. Hold the tester by its insulated body and gently insert the probes into the outlet holes, aligning the tester’s prongs with the corresponding slots. Don’t force the tester; if it doesn’t fit easily, double-check the receptacle type. Insert it straight in, making sure it’s seated securely to get a clear reading from the indicator lights. Proper insertion ensures accurate, safe testing results. Additionally, understanding the different outlet types can help prevent incorrect readings and improve safety during testing.
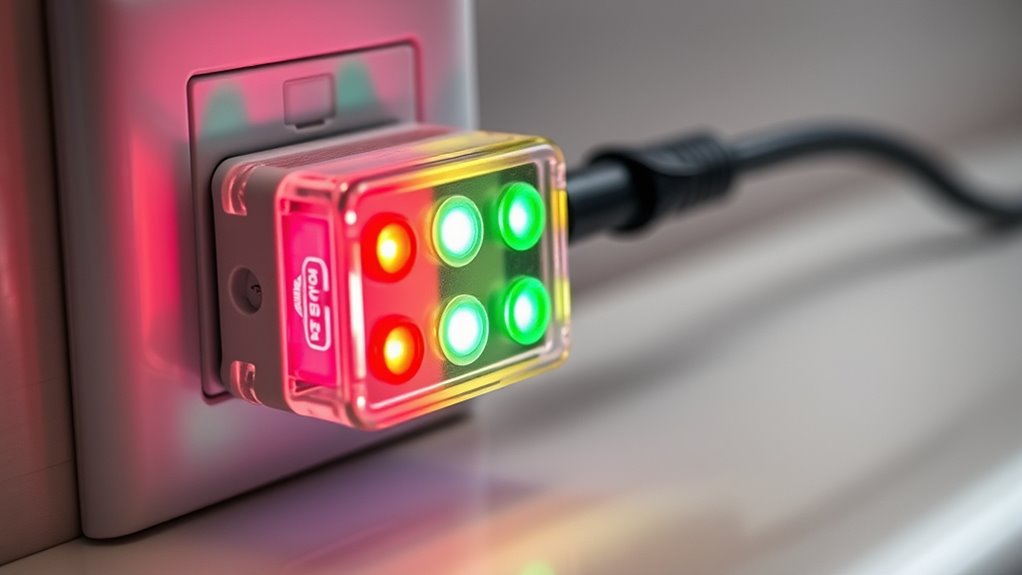
outlet wiring tester safety kit
As an affiliate, we earn on qualifying purchases.
As an affiliate, we earn on qualifying purchases.
Interpreting the Power Indicator Lights
When you see the power indicator lights, understanding what each color signifies helps you interpret the outlet’s status accurately. A green light usually indicates proper wiring, while a red or no light signals an issue. Knowing how to read these signals ensures you use your tester correctly and stay safe.
Light Color Significance
The colors of the power indicator lights on a receptacle tester convey important information about the wiring condition. Each color corresponds to specific circuit symbols and voltage ranges, helping you interpret the test results accurately. A green light typically indicates proper wiring within standard voltage ranges, meaning the circuit is correctly grounded and wired. An amber or yellow light might signal a wiring issue, such as open ground or open neutral, which can be dangerous. Red lights often point to more serious problems, like reverse polarity or incorrect wiring configurations. Understanding these color codes helps you quickly assess the receptacle’s condition and identify potential hazards. Always compare the light colors to the tester’s instructions to ensure you interpret the circuit symbols and voltage ranges correctly.
Proper Indicator Use
Interpreting the power indicator lights correctly is key to understanding what your receptacle tester is telling you. The lights indicate various wiring conditions, including grounding issues and polarity faults. For example, a specific combination of lights may signal a proper connection, while others warn of wiring errors. Use this table to decode the signals:
| Light Pattern | Meaning |
|---|---|
| All lights off | No power or tester malfunction |
| Power light only | Proper wiring, no faults |
| Ground light only | Grounding issues present |
| Power and ground lights | Correct polarity, grounded properly |
| Multiple lights flashing | Polarity faults or wiring errors |
Always cross-reference these signals with your tester’s instructions. Proper indicator use helps prevent dangerous wiring mistakes.
Recognizing Common Wiring Conditions and Their Light Patterns

Recognizing common wiring conditions through receptacle testers involves paying close attention to the light patterns they display. For example, a grounded outlet often shows a specific combination indicating grounding issues, such as a light pattern that suggests the ground wire isn’t properly connected. Understanding wiring color codes is essential; black or red wires typically carry current, while white wires are neutral, and green or bare copper wires are grounding. If the tester shows a pattern inconsistent with these codes, it signals potential wiring problems. Familiarity with these light signals helps you quickly identify issues like open grounds or miswired outlets. Accurate interpretation guarantees safe troubleshooting and prevents improper repairs, guiding you toward correct fixes based on the receptacle tester’s indication.
Troubleshooting Unusual or Ambiguous Light Codes

Have you ever encountered a receptacle tester showing unusual or ambiguous light patterns that don’t match common wiring codes? These confusing signals can make you worry about wiring safety or potential electric shock risks. When faced with unclear readings, don’t rush to conclusions. Instead, carefully observe the pattern and consult the device’s manual. Remember, ambiguous lights might indicate complex wiring issues or faults that can pose a danger. Always prioritize safety—if unsure, turn off power before investigating further. Use this table to help interpret unusual signals:
| Light Pattern | Possible Issue |
|---|---|
| Rapid blinking | Faulty wiring or loose connections |
| No lights | Power supply issue or dead outlet |
| Dim or irregular | Grounding problem or overload |
| Unusual colors | Potential safety hazard |
Stay cautious to avoid electric shock and ensure wiring safety.
Confirming the Results With a Multimeter (If Needed)

While receptacle testers are helpful for quick assessments, they can sometimes give ambiguous or misleading signals. To confirm your results, a multimeter is essential. It allows you to perform precise voltage measurements and verify circuit diagrams directly. Here are key steps:
- Turn off power and set the multimeter to voltage mode.
- Carefully insert the probes into the receptacle slots.
- Read the voltage to ensure it aligns with expected levels (e.g., around 120V).
- Cross-reference your readings with circuit diagrams for proper wiring and grounding.
Using a multimeter helps you identify issues that might not be clear from a tester’s lights alone, ensuring your troubleshooting is accurate and safe.
Tips for Accurate and Safe Testing Practices
To guarantee accurate and safe testing, you need to handle your tester properly and avoid shortcuts. Pay close attention to how you interpret the light signals—misreading them can lead to unsafe situations. Following these tips helps you get reliable results while keeping yourself safe during every test.
Proper Tester Handling Techniques
Handling receptacle testers properly is essential for both accurate readings and your safety. To guarantee circuit safety and avoid electrical hazards, follow these techniques:
- Always unplug the tester before connecting or disconnecting it from an outlet to prevent accidental shocks.
- Keep your fingers away from metal parts while testing to avoid potential contact with live circuits.
- Confirm the tester is in good condition, with no cracks or damage, before use.
- Use the tester on outlets that are turned off or properly de-energized when possible, and always follow manufacturer instructions.
Interpreting Light Signals Correctly
Interpreting the light signals on your receptacle tester accurately is essential for safe and effective testing. First, familiarize yourself with the tester’s light patterns, as different signals indicate various wiring conditions. For example, a correct circuit identification shows proper wiring, while a flashing or unusual pattern may suggest grounding issues or miswiring. If you see a light indicating a grounding problem, avoid plugging in appliances until the issue is resolved. Always double-check the signals with the wiring diagram provided with your tester. Remember, misinterpreting signals can lead to safety hazards or incorrect diagnoses. Take your time to observe the lights carefully, and if you’re unsure, consult an electrician. Proper interpretation ensures safe testing and reliable electrical troubleshooting.
When to Seek Professional Help Based on Tester Readings
While receptacle testers are useful for quick assessments, they aren’t foolproof. If your tester indicates potential issues—such as no power, reversed wiring, or inconsistent signals—it’s time to call a professional. Relying solely on these readings can jeopardize your DIY safety and violate electrical codes. Here are signs you should seek help:
If a receptacle tester shows issues, consult a professional—don’t rely solely on quick checks for safety and code compliance.
- Multiple outlets showing irregular or no test results.
- Persistent or unexplained electrical faults.
- Uncertainty about interpreting tester signals accurately.
- Signs of damaged wiring or outlets.
Even if your tester suggests a problem, avoid attempting repairs unless you’re confident in your electrical knowledge. A licensed electrician can ensure safety, proper code compliance, and proper troubleshooting beyond basic tests. When in doubt, professional help is your safest option.
Maintaining and Storing Your Receptacle Tester for Longevity

To guarantee your receptacle tester remains accurate and reliable over time, proper maintenance routines and storage tips are essential. After each use, wipe the tester with a clean, dry cloth to remove dust and debris. Store it in a protective case or a designated drawer to prevent damage and exposure to moisture, which can affect its accuracy. Avoid leaving it in extreme temperatures or direct sunlight, as these conditions can degrade internal components. Regularly check the tester for signs of wear or corrosion, and replace batteries as needed to ensure consistent performance. Keeping your receptacle tester well-maintained and stored properly extends its lifespan and guarantees you get precise readings every time you use it.
Frequently Asked Questions
Can a Receptacle Tester Detect All Wiring Faults Accurately?
A receptacle tester can’t detect all wiring faults accurately because of testing limitations. It checks for common issues like open grounds or miswired outlets, but it doesn’t cover complex problems or specific electrical standards. You should understand these limitations and not rely solely on the tester for extensive inspections. For thorough safety checks, consider professional testing or using advanced diagnostic tools to ensure all wiring faults are properly identified.
How Often Should I Calibrate or Check My Tester’s Accuracy?
Imagine your tester as a trusted compass guiding your work; you should calibrate it every six months or after rough handling. Regular calibration helps maintain accuracy, ensuring safe, reliable readings. Follow maintenance tips like storing it in a protective case and checking the batteries periodically. By sticking to a consistent calibration schedule, you ensure your tester stays precise and dependable, giving you confidence on every job.
Are There Specific Outlet Types Incompatible With Standard Testers?
Certain special outlets or those with non-standard wiring might not work properly with standard receptacle testers. For example, GFCI outlets or outlets with unique configurations may require specialized testing tools. If you encounter an outlet that doesn’t respond as expected, avoid relying solely on a standard tester. Instead, use a multimeter or consult an electrician to guarantee safety and accuracy, especially with non-standard wiring or special outlet types.
What Safety Precautions Should I Take During Testing in Wet Conditions?
Did you know that electrocutions are three times more likely in wet conditions? During testing in wet conditions, you should wear rubber-soled shoes and insulated gloves to protect yourself. Avoid standing in water, and make sure your hands are dry before handling the tester. Keep the receptacle and surrounding area as dry as possible to reduce risk. Prioritize electrical safety to prevent shocks or accidents.
How Do Environmental Factors Affect the Tester’s Light Readings?
Environmental factors like humidity interference and lighting conditions can impact your receptacle tester’s light readings. High humidity may cause false positives or negatives by affecting the electrical signals, while bright lighting can make it hard to see the indicator lights clearly. To guarantee accurate readings, work in controlled lighting when possible and keep the tester dry, avoiding moisture that can interfere with the electrical connections.
Conclusion
Mastering your receptacle tester is like learning to read a map—you’ll navigate electrical issues with confidence. By understanding the lights and following safety tips, you can spot problems before they become costly. Remember, if the signals seem confusing or inconsistent, don’t hesitate to call in a professional. Keeping your tester well-maintained is like tending a garden—your tool will serve you reliably for years to come, guiding you safely through every outlet inspection.