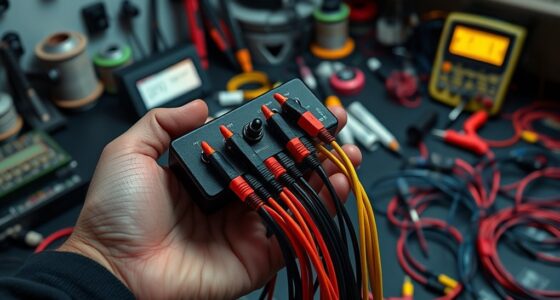

When testing electrical circuits, always perform continuity checks first before turning on power for voltage tests. Continuity testing, done with the circuit de-energized, helps safely identify broken wires or faulty components without risking shocks. Once you confirm everything is safe and repairs are made, then you can carefully conduct voltage tests to diagnose live issues. Following this right order enhances safety and accuracy, and there’s much more to discover if you keep exploring these essential steps.
Key Takeaways
- Always perform continuity testing first on de-energized circuits to identify faults safely.
- Confirm circuit is de-energized before testing continuity to prevent shocks.
- Conduct voltage testing only after fixing faults and ensuring circuit safety.
- Follow proper testing order: continuity first, then voltage, to enhance troubleshooting efficiency.
- Prioritize safety by turning off power and using protective gear before any electrical testing.
When troubleshooting electrical circuits, understanding the difference between voltage and continuity is essential. This knowledge helps you avoid potential hazards and guarantees you follow proper testing procedures. Before diving into any testing, prioritize circuit safety by turning off power and verifying that the circuit is de-energized. Using appropriate personal protective equipment, like insulated gloves and safety glasses, protects you from unexpected shocks. Remember, rushing into tests without confirming safety measures can lead to dangerous situations or damage to your tools and the circuit itself.
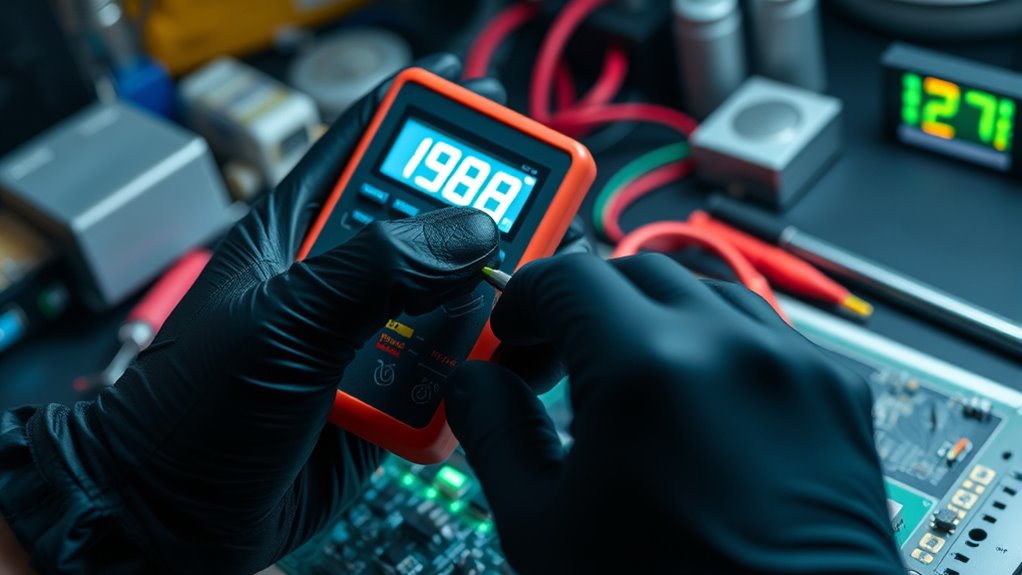
Once you’ve secured the area and confirmed that power is off, start with testing procedures that focus on continuity. Continuity testing helps determine if there’s an unbroken path for current flow, which is critical for identifying broken wires, faulty switches, or blown fuses. Use a multimeter set to the continuity mode, and connect its leads across the component or wire in question. If the multimeter beeps or shows a low resistance reading, it indicates a complete path. This step is quick and straightforward, and it allows you to identify faults without risking electrical shock, since the circuit is de-energized. Performing continuity tests first is key because it helps you pinpoint specific issues before moving on to voltage measurements, which require live circuits.
Start with continuity testing after de-energizing to quickly identify faults safely.
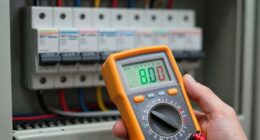
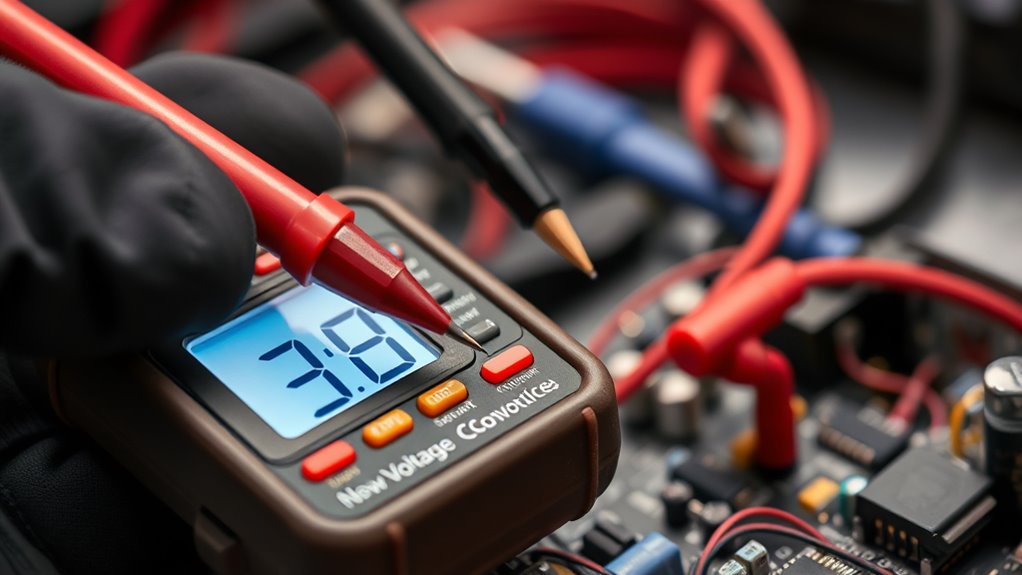
After confirming continuity and fixing any faults, you can proceed to testing voltage. Checking voltage involves measuring the potential difference between two points in a live circuit. This step is essential when diagnosing whether components are receiving power or if voltage is dropping unexpectedly. Always guarantee that the circuit is energized before testing voltage, and use your multimeter properly—set it to the correct voltage range, and avoid touching exposed metal parts with your fingers. Be cautious during this step, as working with live circuits increases the risk of shock or short circuits if not handled carefully. Additionally, understanding the contrast ratio in projectors can help you identify if your display setup provides the necessary depth and clarity for accurate voltage testing in electronic troubleshooting.
The correct order—first testing continuity, then voltage—streamlines your troubleshooting process and enhances safety. Testing procedures should always be deliberate: confirm safety protocols, use the right tools, and follow manufacturer instructions. By understanding the difference between voltage and continuity and applying this knowledge in the proper sequence, you minimize risks, avoid unnecessary damage, and diagnose electrical issues effectively. Remember, proper testing order and circuit safety are your best defenses against accidents and errors, ensuring that your troubleshooting is both safe and successful.

AstroAI Digital Multimeter Tester 2000 Counts with DC AC Voltmeter and Ohm Volt Amp Meter; Measures Voltage, Current, Resistance, Continuity and Diode, Blue
Additional Tips – The following incorrect operations may cause the multimeter not to show results: Firstly, the plugs…
As an affiliate, we earn on qualifying purchases.
As an affiliate, we earn on qualifying purchases.
Frequently Asked Questions
Can Voltage Testing Damage Sensitive Electronic Components?
Yes, voltage testing can damage sensitive electronic components if you’re not careful. The risks stem from applying the wrong voltage levels or testing techniques, which can surpass the component’s sensitivity and cause permanent damage. To prevent these issues, always follow proper testing procedures, use the correct equipment, and double-check voltage settings. By doing so, you protect your components from unnecessary voltage testing risks and ensure accurate, safe measurements.
What Safety Precautions Should I Take During Continuity Testing?
Think of continuity testing like crossing a busy street—you need to stay alert. Always wear personal protective equipment like gloves and safety glasses to guard against unexpected shocks. Follow proper testing procedures, making certain the circuit is powered off before testing. Never rush or skip steps; this reduces risk of injury or damage. By staying cautious and methodical, you keep yourself safe and ensure accurate results during your continuity tests.
How Do Temperature Variations Affect Voltage and Continuity Tests?
Temperature variations can markedly impact your voltage and continuity tests due to thermal effects. As temperatures rise, resistance changes in components can cause readings to fluctuate, leading to inaccurate results. Conversely, cooler temperatures may reduce resistance, making connections seem better than they are. Always account for environmental conditions, allowing equipment to stabilize, and be aware that thermal effects can affect both voltage measurements and continuity checks, ensuring more reliable results.
Are There Specific Tools Recommended for Both Tests?
You should use a quality multimeter for both voltage and continuity tests, ensuring it’s properly calibrated for accurate readings. Look for models with auto-ranging features and a good resistance range for continuity checks. Always consider the test environment—avoid extreme temperatures and moisture that can affect the tool’s performance. Regular multimeter calibration helps maintain precision, making your tests reliable regardless of the conditions.
How Often Should I Perform These Tests on Electrical Systems?
You should perform voltage and continuity tests regularly to guarantee safety and proper functioning. Typically, check your electrical systems at least once a year, but increase the frequency if you notice issues or during routine maintenance. Using reliable test equipment, like a multimeter, helps maintain peak performance. Consistent testing minimizes risks, extends equipment lifespan, and keeps your system safe, so don’t skip scheduled maintenance—your safety depends on it.

DongChu Insulated Electrician Gloves 1000V,ASTM D120 Certified High Voltage Resistant Flame Retardant Work Gloves, Electrical Rubber Non-slip Prevent Shock,Large
Insulation Performance: Work gloves have insulated palms and fingers and comply with ASTM D120 standard, providing effective safety…
As an affiliate, we earn on qualifying purchases.
As an affiliate, we earn on qualifying purchases.
Conclusion
Remember, testing voltage and continuity in the right order guarantees accurate results and prevents damage. Always check voltage first to avoid confusing live wires with open circuits, then confirm continuity to pinpoint faults. Skipping steps or testing incorrectly could lead to misdiagnosis or safety hazards. So, are you ready to follow the proper testing sequence to keep your electrical work safe and reliable? Prioritize the right order—your safety depends on it.

Klein Tools ET310KIT AC Circuit Breaker Finder Kit, Electric Tester, GFCI Tester, Leads, Adapters and Case
ACCURATE CIRCUIT BREAKER IDENTIFICATION: Quickly locate the correct breaker with precision using the transmitter and receiver of the…
As an affiliate, we earn on qualifying purchases.
As an affiliate, we earn on qualifying purchases.

Klein Tools NCVT1P Voltage Tester, Non-Contact Low Voltage Tester Pen, 50V to 1000V AC, Audible and Flashing LED Alarms, Pocket Clip
NON-CONTACT DETECTION of AC voltage in cables, cords, circuit breakers, lighting fixtures, switches, non-tamper-resistant outlets, and wires
As an affiliate, we earn on qualifying purchases.
As an affiliate, we earn on qualifying purchases.